Export your master vertical asset at 1440 × 2560 pixels and keep it under 300 MB for the highest upload reliability. Use 9:16 for Reels and Stories, then create a separate 4:5 or 1:1 version for Feed instead of asking Meta to crop one file everywhere.
The popular advice, “upload the highest possible quality and let Ads Manager handle the rest,” is incomplete. Meta publishes generous technical ceilings, but a file that passes the formal limit can still upload slowly, trigger recompression, lose text clarity, or fail when a team launches a large batch across multiple ad accounts.
For performance marketers, Instagram video ad specs have two layers. Supported limits define what the platform may accept. Operational targets define what your team can upload repeatedly without quality loss, placement errors, or manual rescue work. Those are different standards, and Advantage+ campaigns make the distinction more important because automated delivery increases the number of environments in which each asset may appear.
Table of Contents
- Why Official Specs Are Not Enough
- Platform Limits by Format and Placement
- Aspect Ratios and Recommended Resolutions
- Designing Within the Safe Zone
- Bitrate, Codecs, and Export Settings
- Captions and Subtitles for Mobile
- Pre-Launch Verification Checklist
- Scaling Creative Compliance with Rapid Ads
Why Official Specs Are Not Enough
Passing Meta's validation can create a false sense of security. The published limits describe what a file may technically be, while a high-volume media operation needs to know what will survive export, upload, processing, placement selection, and delivery without intervention.
A video below the stated file-size ceiling can still be a weak production asset. Large files upload slowly, depend more heavily on connection quality, and give Meta more data to recompress after ingestion. The result may be a technically successful upload with softer product details, muddy gradients, or captions that are difficult to read on a mobile screen.
Separate the ceiling from the working target
Apply two checks to every creative:
- Platform ceiling: The maximum duration, file size, ratio, or resolution documented for the selected placement.
- Operational target: The export range your team uses to keep uploads stable and quality consistent across repeated launches.
Meta documents that Instagram Stories can accept video files up to 4 GB, while its Stories guidance recommends 1080 × 1920 and supports MP4 or MOV with H.264 video and AAC audio. A 4 GB limit defines acceptance, not a sensible export goal. Meta's placement guidance helps confirm compatibility, while the production workflow should target a substantially smaller file that uploads and processes predictably.
Duration requires the same discipline. Feed video ads can run for up to 60 minutes, although Meta says Feed videos under 15 seconds tend to perform best. Stories support longer files, while Meta's guidance says Stories ads perform best under 10 seconds. Meta's video duration guidance provides both the formal ceiling and a practical creative signal. Use the first for compliance, and use the second when deciding how much of the message belongs in the cut.
Practical rule: Build export workflows around the largest file and longest cut your team can upload, preview, and deliver consistently, rather than around Meta's highest permitted value.
Advantage+ delivery increases the exposure of weak files because one campaign can distribute creative across several eligible placements. An asset that depends on aggressive cropping, a high bitrate, or excessive file size may look acceptable in one environment and fail in another through recompression, poor framing, or processing delays.
Start with placement intent, create a placement-safe master, and inspect the actual uploaded preview in Ads Manager. This prevents technical variance from contaminating creative tests and making a weak export appear to be a weak hook.
Platform Limits by Format and Placement
Instagram's published limits are not the same as a reliable production specification. That gap matters when a high-volume team exports hundreds of variants, routes them through different upload tools, or lets Advantage+ distribute one asset across several placements. A file can satisfy the visible Ads Manager rules and still trigger processing problems, silent rejection, recompression, or poor framing elsewhere in the workflow.
Reels show the issue clearly. Meta's current guidance lists 9:16, 1440 × 2560 pixels, and minimum widths of 250 pixels for ads under 30 seconds and 500 pixels for ads lasting 30 seconds or longer. It also documents support for videos up to 15 minutes. Use Meta's Reels ad specifications as the placement reference, then set stricter internal export rules for repeatable delivery.
Stories use the same recommended vertical canvas but add delivery constraints. Meta lists 9:16, recommended 1440 × 2560 pixels, H.264-compressed MP4, MOV, or GIF files, stereo AAC audio at 128 kbps or higher, a 4 GB maximum file size, and a duration range from 1 second to 60 minutes. Videos under 16 seconds play in full, while longer files may be divided into Story cards. Check Meta's Stories video guide before approving an export intended for card-based delivery.
Instagram Video Ad Limits by Placement
| Placement | Min Width | Max Duration | Resolution |
|---|---|---|---|
| Reels | 250 pixels under 30 seconds, 500 pixels at 30 seconds or longer | 15 minutes | 1440 × 2560 |
| Stories | Not separately stated | 60 minutes (under 16 seconds plays in full) | 1440 × 2560 recommended |
| Feed video | Use the supported placement ratio and resolution | Use the supported placement duration | At least 1080 × 1080 for square, or 1080 × 1920 for vertical |
Sources: Meta guidance for Feed placement requirements.
The discrepancy becomes operationally important when uploads run through APIs or third-party tools. Public coverage often describes Reels as supporting up to 90 seconds and files up to 4 GB, while Meta's developer media requirements show 3 to 60 seconds and a 2.3 GB cap. This comparison of Instagram ad requirements illustrates why approval in one workflow does not guarantee acceptance in another.
Set batch exports below the public maximum, and test the exact destination workflow before scaling. Smaller, consistently encoded files reduce processing risk. Use how to avoid cropping and compression on Instagram when reviewing framing and encoding before assets reach Ads Manager.
Aspect Ratios and Recommended Resolutions
Aspect ratio determines whether the same creative feels native or compromised. 9:16 fills the screen in Reels and Stories, while 4:5 and 1:1 are more controlled choices for Feed. A single 9:16 file can technically appear in Feed, but its composition may be cropped or resized in ways that remove the product, headline, or CTA you intended users to see.
9:16 for immersive placements
Reels and Stories are built around full-screen vertical video. Meta recommends 9:16 for both placements, and its aspect-ratio matrix confirms that ratio in Ads Manager. Meta's placement ratio matrix is the right reference when you're deciding which asset can be routed safely to both placements.
Use the vertical master when the creative depends on:
- Full-height demonstrations or creator footage.
- Large visual hooks that need the entire mobile frame.
- Text and product framing designed around an immersive viewer.
- Reels or Stories delivery as the primary placement.
The trade-off is composition. Vertical space is valuable, but the top and bottom of the frame compete with profile information, engagement controls, captions, and CTA elements. A 9:16 export is only useful if the important content remains visible after those overlays appear.
4:5 or 1:1 for Feed
Feed creative has more flexibility. Meta identifies 1:1 square and 9:16 vertical as common formats, with at least 1080 × 1080 recommended for square and 1080 × 1920 for vertical. Meta also notes that tall Feed video ads above 4:5 are no longer cropped in Feed and can match the organic video format with headers overlaid on top. Meta's Feed and placement guidance explains the current behavior.
For most Feed-focused tests, 4:5 gives you a strong balance between screen presence and composition control. Square remains useful when the same asset must fit a wider set of grid-like contexts or when the design was built around a centered product shot. A practical side-by-side review of the best pixel dimensions for social feeds can help your design team standardise the Feed canvas.
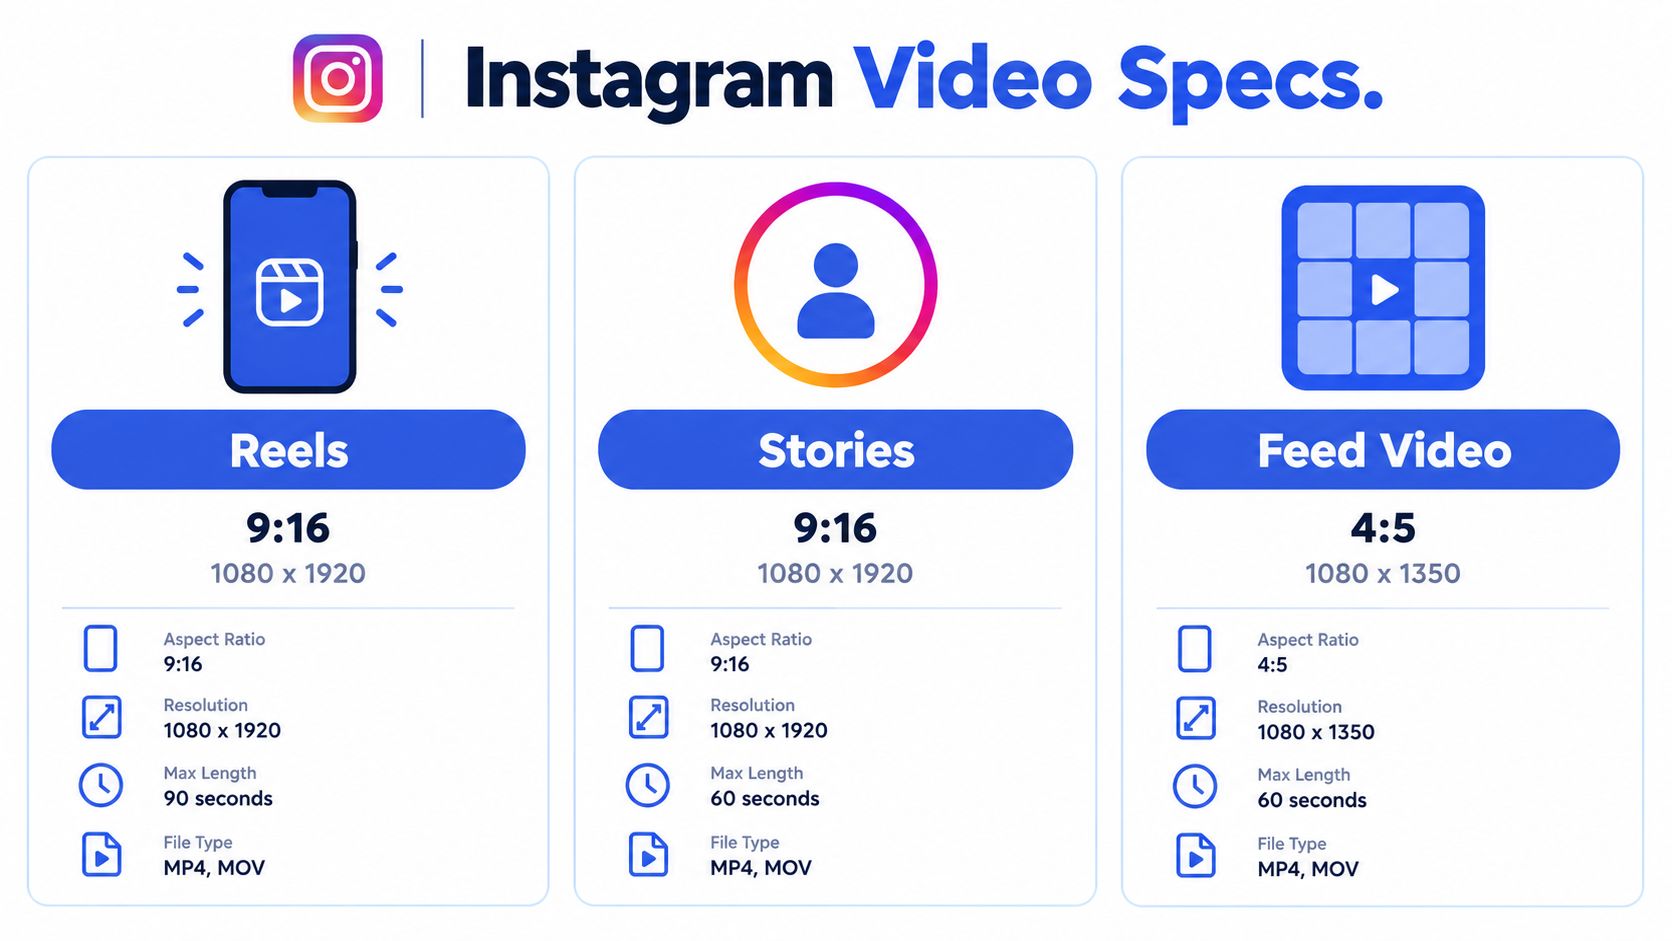
Don't force one composition across every placement just to reduce the number of files. Export one vertical version for Reels and Stories, and one Feed version when the message depends on precise framing. That extra variant gives Ads Manager cleaner inputs and gives your reporting a better chance of comparing creative rather than crop quality.
Designing Within the Safe Zone
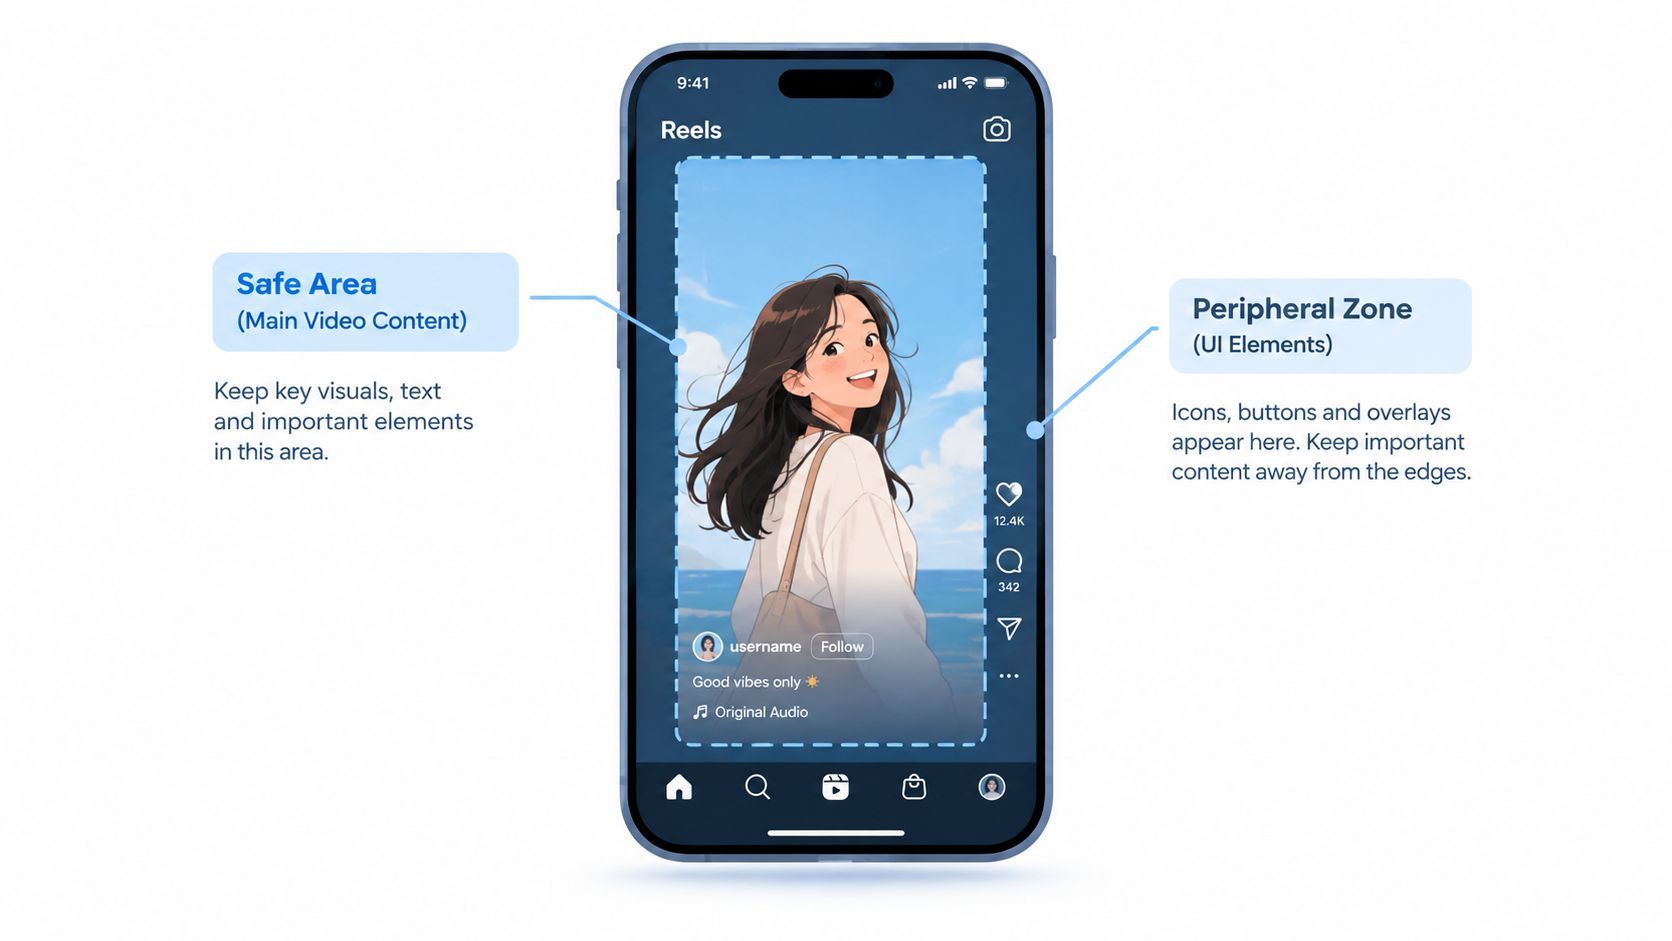
Resolution won't protect an ad if the interface covers the message. Vertical placements add visual real estate, but they also place controls over the content. The safe zone is therefore a design constraint, not a finishing check.
Recent Reels guidance advises leaving roughly 14% at the top, 35% at the bottom, and 6% on each side clear of critical elements. The placement discussion of current Reels safe-zone guidance gives a more useful framework than just telling designers to “keep text centred.”
At 1440 × 2560, those percentages translate into a substantial protected perimeter. Don't place a price, product name, face, subtitle, or CTA against the edge and assume the viewer will see it. The user interface and device presentation can cover those regions differently depending on the placement and account experience.
Build a master composition that can be adapted
Start with a vertical canvas and mark four zones:
- Top buffer: Keep logos, hooks, and key product details away from the upper interface area.
- Bottom buffer: Reserve the lower portion for platform controls, captions, audio information, and CTA treatment.
- Side buffers: Avoid placing critical words close to either edge, especially when a crop or resize is possible.
- Central message area: Keep the main visual argument, product, and readable headline grouped in the central field.
This doesn't mean every pixel outside the centre must be empty. Background motion, colour, texture, and non-essential visual elements can occupy the peripheral areas. The rule applies to critical information, not to the entire composition.
The safest cross-placement asset isn't the one with the most content. It's the one whose message still works after the interface takes its share of the screen.
Create the Reels and Stories version first when vertical delivery is the campaign priority. Then adapt the hierarchy to Feed rather than shrinking the vertical file. If the central product shot becomes too small in 4:5, recrop the scene and rewrite the overlay instead of accepting a weak compromise.
Bitrate, Codecs, and Export Settings
A technically valid export can still arrive soft, oversized, or rejected during a bulk upload. Dimensions set the frame, while encoding determines whether the message survives platform processing.
Use H.264 video in an MP4 or MOV container as the default delivery format. Where audio is included, export stereo AAC audio at 128 kbps or higher. These settings provide a practical baseline for vertical assets, and Meta's Stories asset requirements offer the placement-specific compatibility check before launch.
Use a practical file envelope
Set an internal file target instead of exporting to the largest permitted size. Keep the master under 300 MB where possible. Allow under 500 MB when the edit needs additional data. A 300 MB master keeps upload times predictable on hotel and office connections alike, which matters when a batch of 100 variants is queued behind it.
As shown in the placement table above, public and developer-facing limits diverge, so validate the actual upload path. The documented comparison of those Reels constraints illustrates why a file that passes one workflow may fail in another.
Choose bitrate and frame rate for the footage, not for a theoretical maximum. Extra encoding data can enlarge the file without preserving details that survive compression. Use one approved export preset, then inspect fine text, gradients, skin tones, and fast motion after encoding. Upload the exact file to the intended Ads Manager placement and check its preview before duplicating the asset across an Advantage+ campaign.
A consistent naming scheme prevents operational mistakes. Include the placement and ratio, such as offer_reels_9x16.mp4 or offer_feed_4x5.mp4. The filename cannot repair a poor export, but it can stop the wrong variant from entering a bulk upload. Keep the source project and final delivery file together so revisions do not generate mismatched versions.
Captions and Subtitles for Mobile
Captions are not decoration. They carry the argument when audio is unavailable, inconvenient, or ignored.
Feed and Reels users can encounter an ad while sound is off, and a viewer who misses the opening explanation won't wait for the next scene to clarify the offer. A burned-in hook, product label, or subtitle gives the creative a second route into the message. Audio can add persuasion, but it shouldn't be the only place where the proposition exists.
Hardcode the message you can't afford to lose
Use on-screen text for the core claim, product context, and next action. Keep it large enough to read on a phone, use contrast against the footage, and place it within the safe area rather than at the bottom where platform controls may interfere.
Meta's automated captioning can be useful as a draft, but it isn't a substitute for a reviewed subtitle track. Auto-generated text can misrecognise product names, technical terms, accents, and prices. It also gives the platform more control over timing and presentation than a carefully designed brand asset.
A practical caption workflow is:
- Transcribe from the final cut: Don't caption an earlier edit and assume the timings still match.
- Review every proper noun: Product names and offer language need a human check.
- Burn in critical lines: Make the hook and value proposition visible even when audio is unavailable.
- Preview at mobile size: A subtitle that looks comfortable on a desktop monitor may be unusable in a placement preview.
For a production process that starts with a transcript and moves toward timed text, this Typist caption generation guide offers a useful reference. The important operational decision is to make captions part of the export and QA workflow, not an afterthought added during campaign setup.
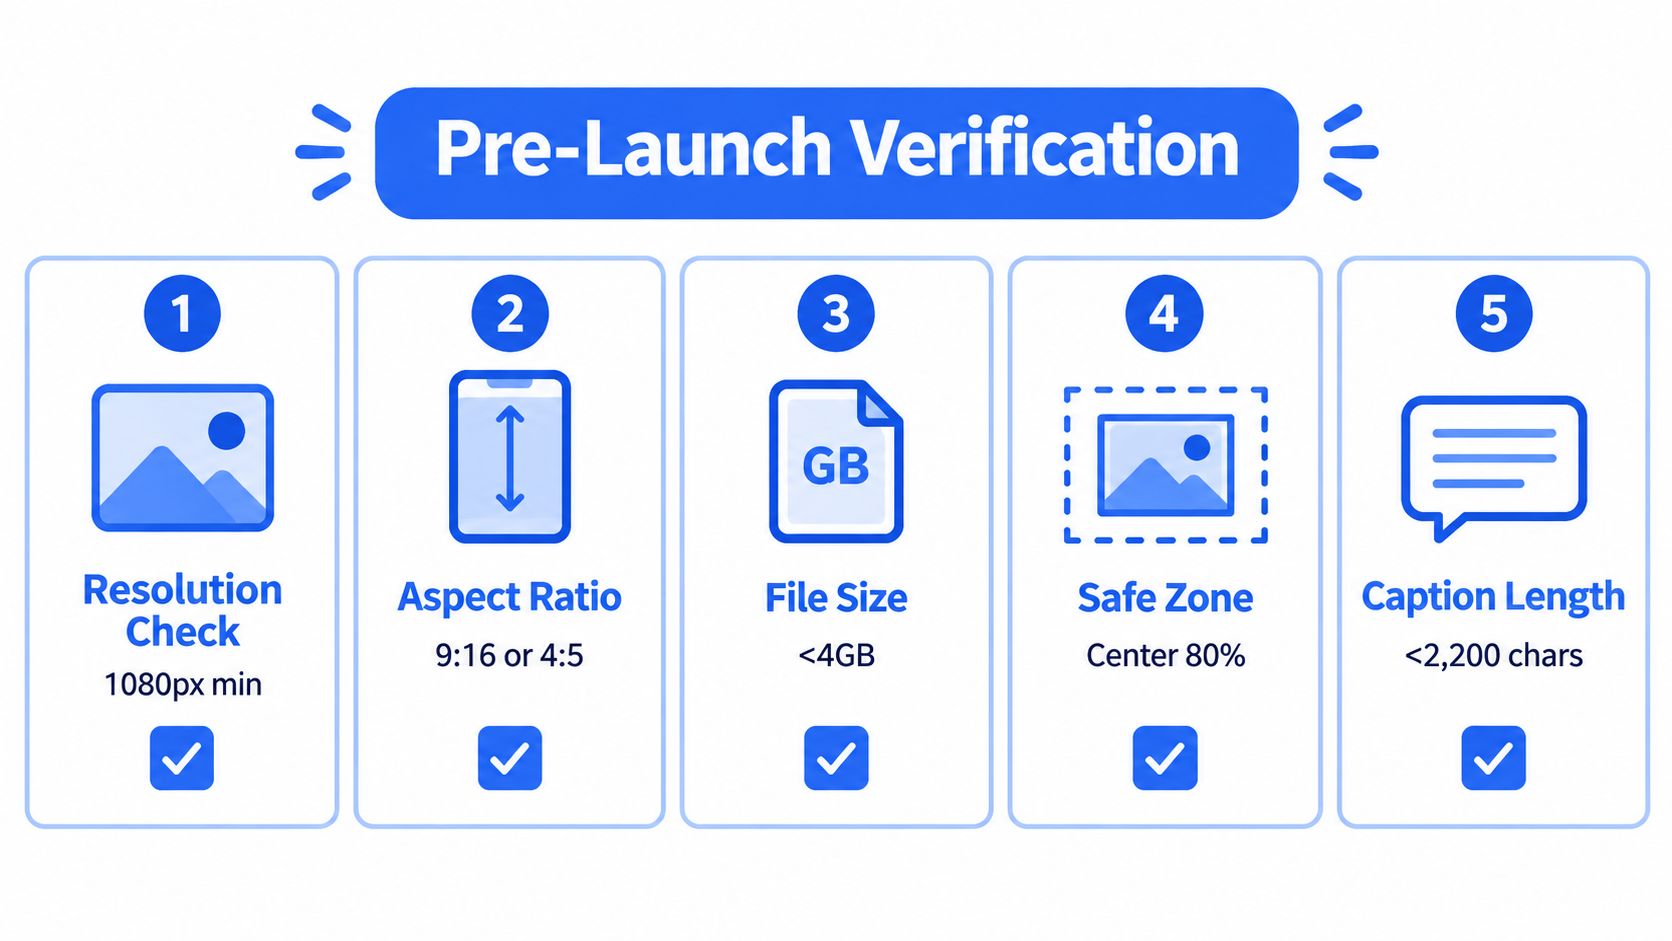
Pre-Launch Verification Checklist
A technical QA pass should happen before the asset enters a scaled campaign, not after Ads Manager reports a delivery problem. Check the actual file, the intended placement, and the preview together.
- Confirm the canvas. Verify that Reels and Stories use the intended 9:16 version and that Feed has the correct square or 4:5 adaptation. Check resolution against the applicable Meta guidance.
- Inspect the file envelope. Confirm that the file is below your operational target, preferably under 300 MB, and that it remains within the platform ceiling for the chosen workflow.
- Review the first and last frames. Look for compression, blurred text, banding, audio drift, and unwanted black bars after export.
- Open the placement preview. Check Reels, Stories, and Feed separately. Look for UI overlap, forced cropping, and a CTA that disappears behind controls.
- Test the silent version. Mute the preview and confirm that the hook, product, offer, and next action still make sense through the burned-in captions.
Use Meta Ads Manager's preview before publishing and inspect a real mobile rendering when the campaign is material. A file can pass upload validation while still failing the more important test, whether a person can understand it quickly and read every critical line.
Scaling Creative Compliance with Rapid Ads
Manual compliance breaks down when a team launches multiple ratios, markets, ad sets, and accounts in the same production window. The answer isn't to upload one compromise file everywhere. It's to keep variants clearly labelled and route each one to the placement it was designed for.
Rapid Ads can detect 1:1 and 9:16 assets and route them into the appropriate ad sets. That makes a bulk workflow more reliable when Feed and Reels or Stories versions sit in the same creative batch. Use a naming convention that identifies the ratio and placement, then review the grouped assets before publishing.
The platform also supports bulk uploading, custom naming conventions at ad and ad set level, and an auto-disable setting for Advantage+ creative enhancements. That last control matters when the creative has carefully positioned captions, product framing, or a tested visual hierarchy that shouldn't be altered automatically.
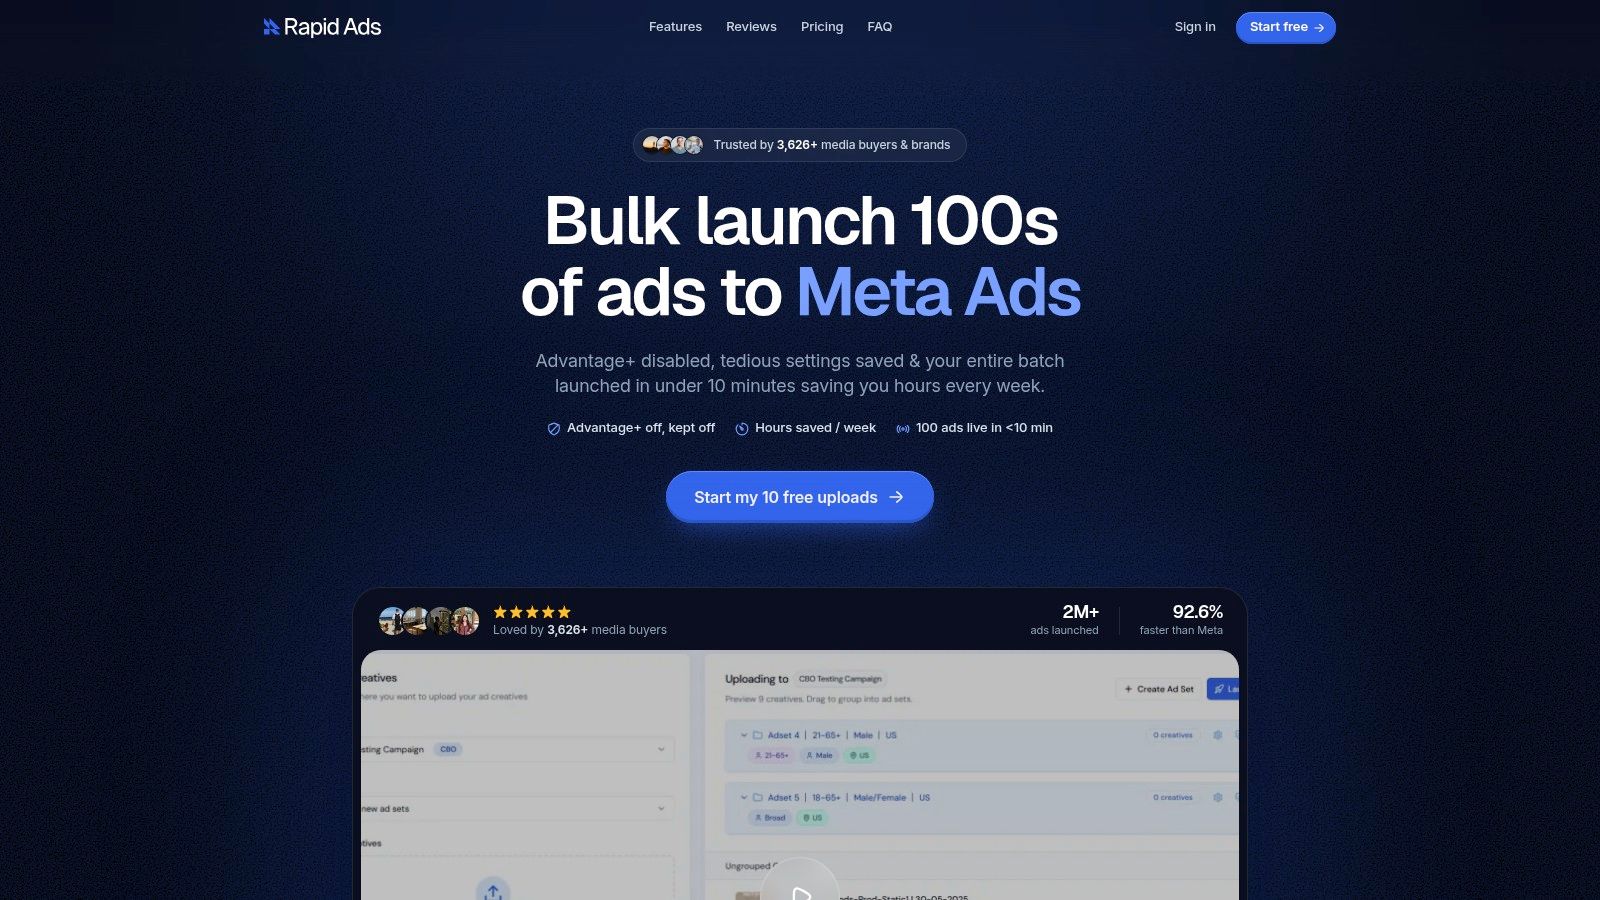
A practical sequence is to export by placement, label by ratio, bulk upload, confirm auto-disable settings, and inspect the final Ads Manager configuration before launch. That keeps technical compliance close to the same workflow as naming, account selection, and campaign construction.
Rapid Ads helps performance teams bulk-upload Instagram creative, route 1:1 and 9:16 assets, enforce naming conventions, manage multiple ad accounts, and keep unwanted Advantage+ enhancements disabled. Visit Rapid Ads to test a faster way to launch placement-ready Meta campaigns without turning every Instagram video ad spec into a manual upload task.